Who has never dreamed of being able to photograph the Milky Way? There is a lot of ignorance about this and in today’s article I will shed light on each of the doubts that arise.
The first thing to do is to stop for a moment and think about what we are really photographing. When we photograph the Milky Way, we are actually photographing our own galaxy, in which the solar system is located. It never ceases to amaze me that we can see this phenomenon with the naked eye, so imagine what our camera can do.
Nowadays, it is not uncommon to see photographs where the Milky Way is the protagonist. And this is because it is not really difficult to photograph it, just take into account a number of things.
- When can we see the Milky Way?
As I said before, the Milky Way can be observed with the naked eye, as long as the conditions are appropriate, i.e. there is no light pollution and the sky is dark. I think it goes without saying that it should not be cloudy.
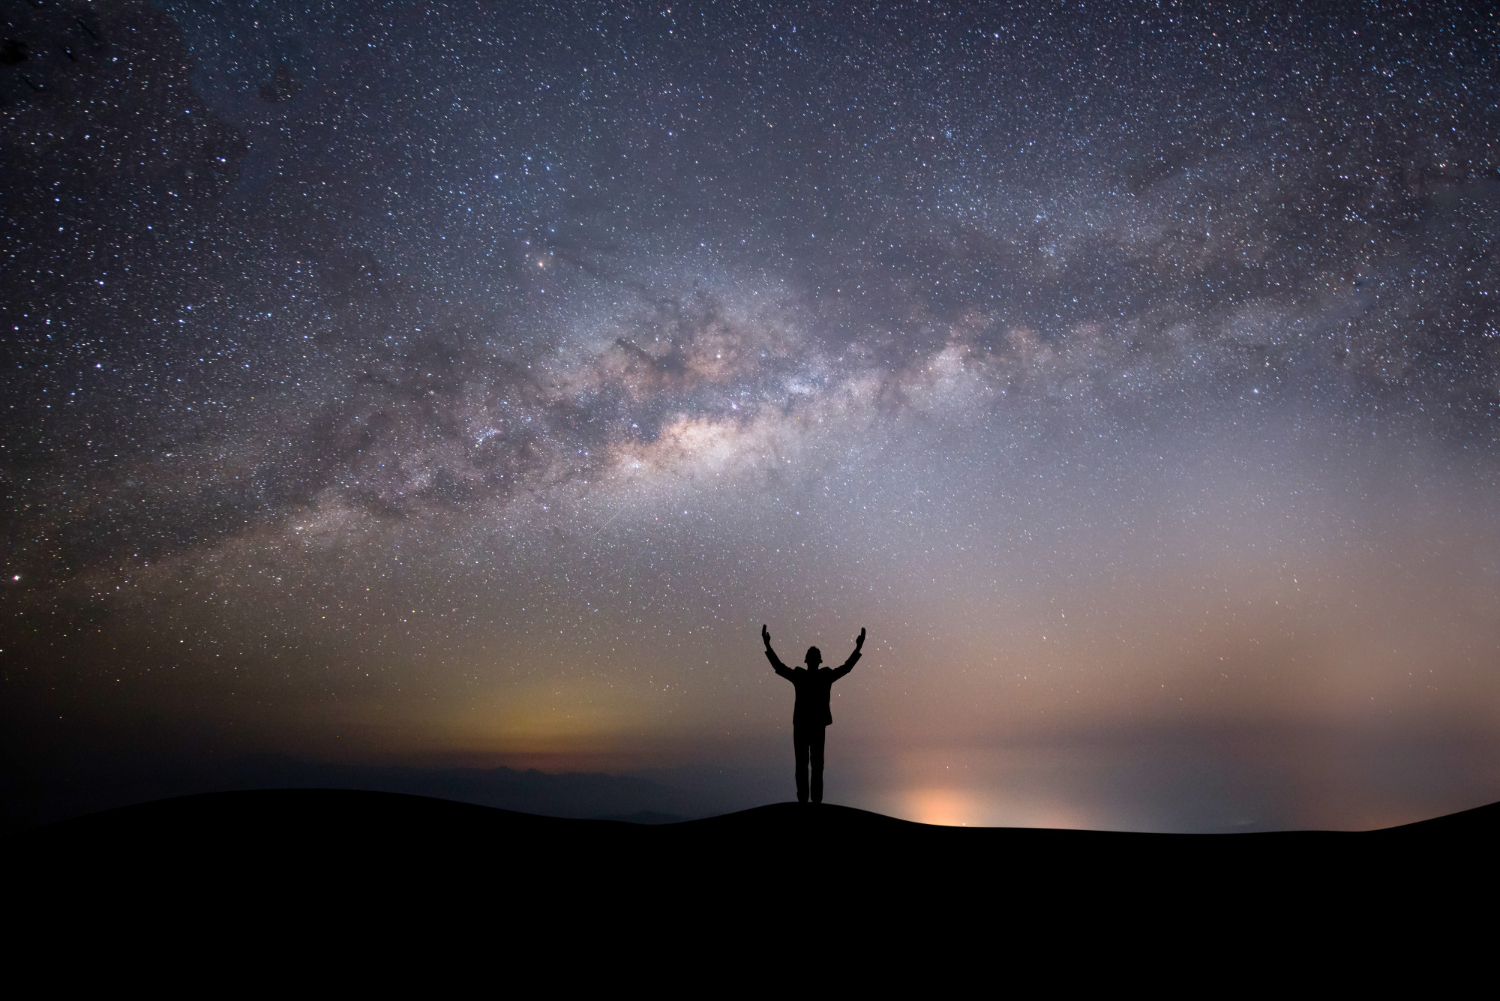
The Milky Way creates a path that you can see perfectly. However, the Milky Way has a very characteristic area, namely the galactic center. This is the most striking and photogenic part.
Depending on which hemisphere we are in, we have to look in one direction or another depending on the season of the year to find the galactic center, but we will never find it in the north.
One thing that may seem obvious is that the Milky Way is not in a fixed position in the sky. Like all the stars and planets, the Sun and the Moon, the Milky Way appears and disappears on the horizon. It rises in the east and sets in the west.
You have probably heard that there is a specific season to go out and photograph the Milky Way. Indeed, the galactic center, that is to say the most photogenic part, is not visible all year long. For some months, this part of the Milky Way is above the horizon during the day.
Therefore, if you are in the northern hemisphere, you should try to photograph the Milky Way from March to October. The amount of time the galactic center is visible varies, but it is longest between April and July. The more hours it is visible, the better the chances of photographing it to our liking.
If, on the other hand, you live in the southern hemisphere, you will have to go looking for it from February to October. It is not visible from November to January.
- How to take the picture I want?
Like most of the time in nature photography, you need to have a plan, even more so in these cases.
You can try to go on an adventure to see if you can find the Milky Way, or you can try to think of a photo and try to get it. But whatever you do, you need to keep the weather and location in mind.
Obviously, the sky has to be clear, but not only that. The less light the better, and I’m not just talking about light pollution, but also the phase of the moon. Try not to let the moon be present when we go to photograph the stars or the Milky Way, because the moon illuminates the sky, making the stars less visible.
However, we can take advantage of the moon’s light to illuminate our subject.
When we make two exposures, we need to take an exposing photo for the Milky Way and another exposing photo for the subject, which we will need to merge later in Photoshop or a similar tool. Ideally, we should take the photo exposing our subject during the blue hour, so that the atmosphere and colors match the photo we will take later of the Milky Way.
The next step is to imagine the picture we want to take. I recommend knowing the location in advance and having seen it during the day. If possible, I try to arrive in the afternoon to inspect the area and see what might be a good subject.
- How to photograph the Milky Way?
Keep in mind that the Milky Way is a kind of line of sight.
You should know that the Milky Way is a kind of line that appears on the horizon and goes upwards. It is impossible to photograph it in its entirety, unless you take a panorama with several photos, since the Milky Way goes practically from one cardinal point to the other, which would represent about 180º.
You have probably seen photos of this type where the Milky Way appears to form an arc. In fact, the curved distortion comes from the assembly of the different photos that make up the panorama and the curve is generated by the angular lens needed to cover so much sky. With the naked eye, we see a line from one end to the other.
Therefore, when we compose, we have to think that we are photographing a line of stars. The line that forms the Milky Way varies and can be vertical, horizontal or diagonal. This is what is really important when planning the photo, knowing what position the line will be in so that we can compose it with the environment.
The typical Milky Way photo is usually the diagonal line itself, pointing to an element in the photo.
- What applications can I use?
Today, planning the position of the Milky Way is not complicated thanks to programs and applications for cell phones and tablets.
One program I sometimes use is Stellarium. This program is free and available for Windows, Mac and Linux. With it, we can represent the sky anywhere on the planet and at any time. Thus, we will know not only where the Milky Way comes out, but also which stars will be in the sky, if there will be a moon, etc.
Another very useful application is Photopills. This app is so complete that it even tells you the time of sunrise and sunset over the galactic center, which is usually interesting when we want to photograph the Milky Way. Moving forward in time, we will see on the map the route that the Galactic Center will take, which will help us plan the photo.
The feature that makes the difference is the augmented reality, which allows you to calculate in situ the position of the Galactic Center. In this mode, the camera of the cell phone is activated, superimposing a kind of graph that represents the stars.
We just need to select the time we want to take the picture and move the cell phone to the place where we are going to take the picture. In this way, the Milky Way will appear as a drawing and we will see the position it will have.
This application is very useful to know if the photo we dreamed of is really possible or not.
- Equipment required
We need bright lenses with an aperture of at least f/2.8.
So far, everything I have said is related to planning and what you need to consider in order to observe the Milky Way. But let’s talk about the equipment that is needed or recommended.
Obviously, the most important thing of all is to have a tripod. It is also recommended to have a cable release or an intervalometer.
I always say in my classes that the camera or equipment is not as important as the way the photographer sees. However, in order to photograph the Milky Way, two conditions must be met.
The first is to have a sufficiently bright lens. It goes without saying that at night there is no light, so a lens with a maximum aperture of f/2.8 is almost essential. This will allow you to get a clear sky without having to expose for a long time. When I do night photography, I usually use my Samyang 14mm f/2.8 lens. This lens is bright enough and allows me to take the stars in points or the Milky Way.
The second condition is that our camera can handle a high ISO without generating a lot of noise. Despite the use of bright lenses, the amount of light we need is important. So we need to set an ISO of at least 1600, most often 3200 or even 6400. Fortunately, the ISO supported by cameras is getting higher and higher, so shooting at night becomes easier and we get better quality.
In an attempt to contain the noise, cameras have a built-in noise reduction feature. Depending on how aggressive the noise reduction is, we will lose more or less sharpness. In cameras that do not support high ISO, this can be a good option. I don’t use it myself, because I lose sharpness and time, as it takes as much time to reduce the noise as it does to expose (twice as long to expose).