A few years ago, we wondered if compact cameras would disappear in the face of the rise of camera-equipped cell phones. Today, even if the term “disappearance” seems a bit strong, we can say that cell phones have indeed won the battle with the general public.
Today, photography is one of the most competitive areas for cell phone manufacturers, who take advantage of each new presentation to show off their latest advances in zoom, night photography and more.
However, despite the technological advances, there are still limitations to consider when taking pictures with our mobiles, such as (in many cases) the lack of optical zoom or low light performance. In order to get the best results, we’ve put together a guide of essential tips for taking photos with your Android smartphone.
- Know your material…
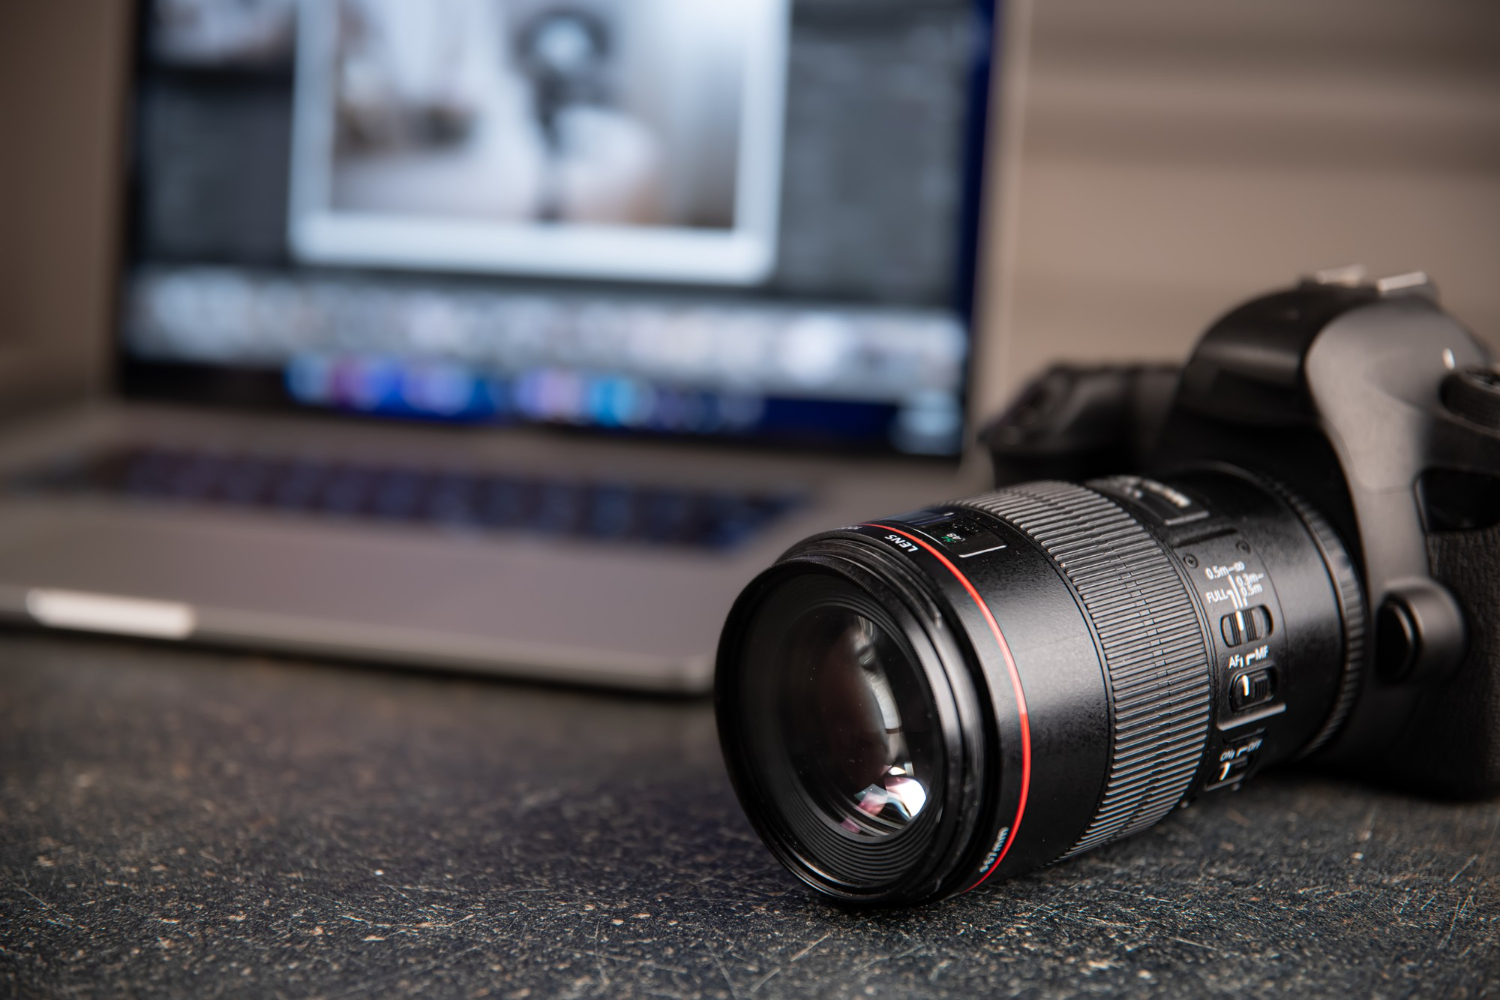
The first step to getting the most out of a camera is to know it well, whether it’s an SLR or, in this case, your cell phone camera. A visit to the manufacturer’s website will give you key information that is important before you start shooting.
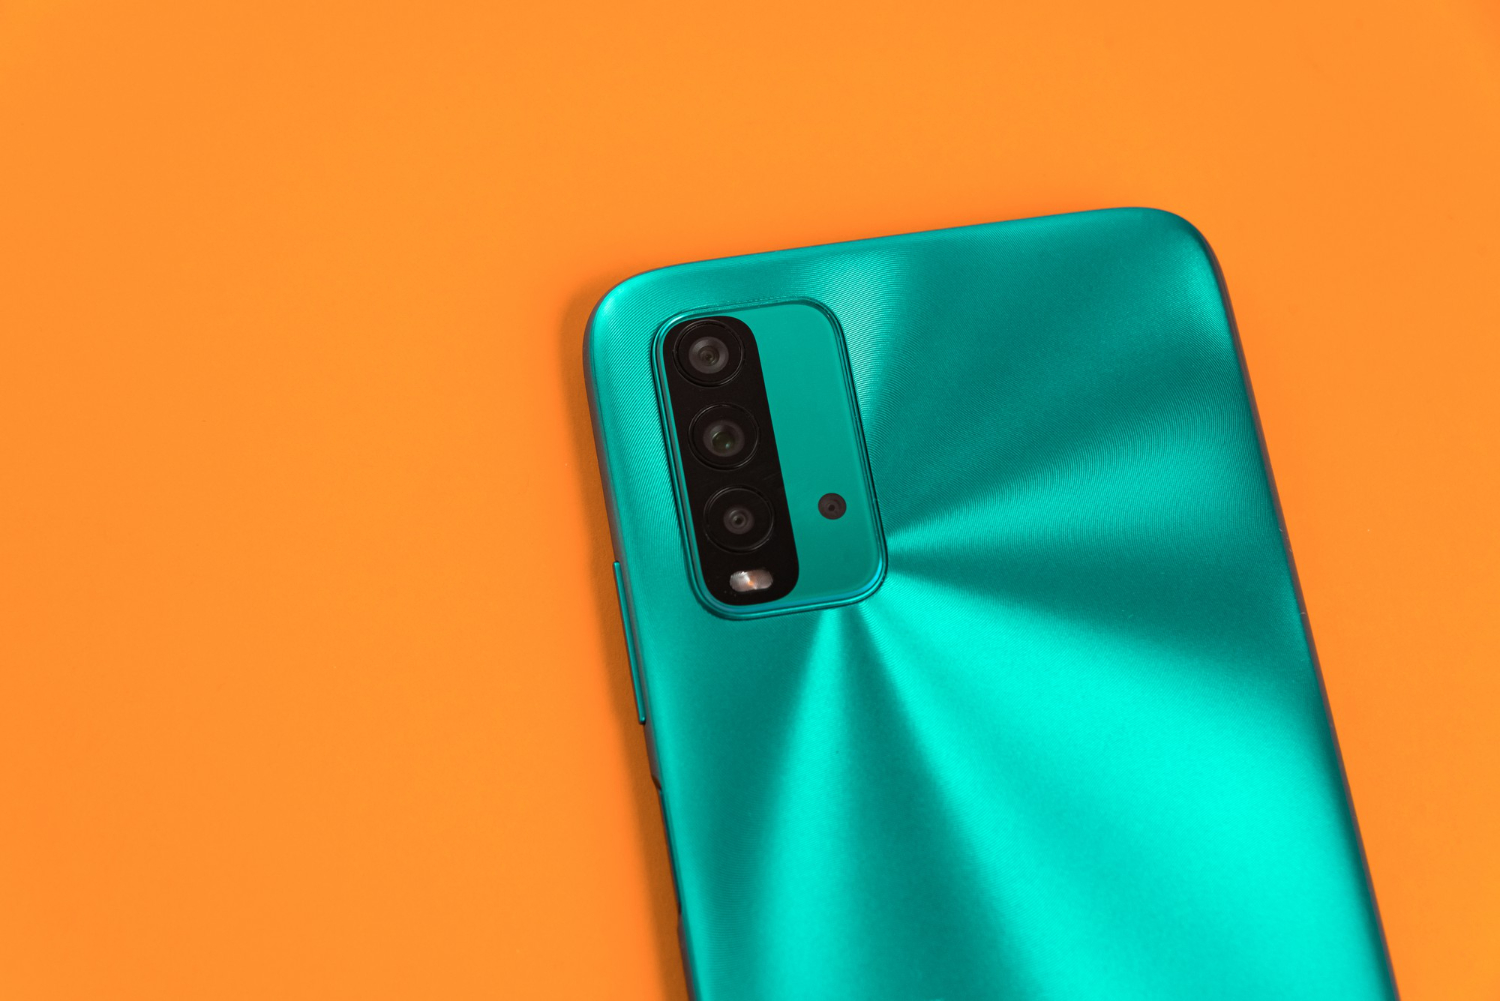
Knowing the resolution is good, but going further, details such as the size of the sensor or the size of the pixels themselves are as important, if not more so, than the megapixels, and the same goes for the lens aperture or “F” number (the lower the better), as the brighter the lens, the better it will work in low light conditions.
Now that multi-cameras have become so prevalent, zooming is a great feature. Your phone may have a wide-angle lens and perhaps a telephoto lens as well. Explore the capabilities of all the lenses and especially what maximum optical zoom the telephoto lens gives you, as you’ll get better results with it than using the digital zoom.
Image stabilization is another essential aspect when taking pictures in low light conditions, but also when shooting videos (to minimize shaking). There are digital (EIS) and optical (OIS) stabilizers, which are generally more effective than the former. Also check if your phone has a shutter button or allows you to take pictures with the volume keys, as this usually makes for a more comfortable grip.
Knowing the specs is a good place to start, but remember that the best way to get to know the hardware is to try it out. Experience is always the most effective way to learn about the camera’s strengths and weaknesses.
- …and your software
While knowing the hardware is a key step, finding and handling the software is equally important. Automatic mode is great for when you can’t stop to configure settings, but there are options that can really help improve your photos and knowing them is an essential aspect.
In the camera application you will find all the available options, such as scene modes or manual mode, which is becoming more and more widespread, even on simple mobiles. If you have more time to prepare the shot, it is interesting to play with values such as exposure, ISO or white balance to achieve specific effects. Of course, if the camera allows you to apply filters directly, it is better to avoid them and apply them later with editing software.
It is also important to know and try HDR, a function that will save us more than one photo with large differences in contrast. Another essential aspect is the setting of the resolution, because in some cases we may not take advantage of the maximum that your sensor offers. Let’s also not forget about night, macro or portrait modes, all of which are already essential in smartphones of all ranges.
As with the hardware, the best way to get to know the software in depth is to test and test until you feel comfortable and find the settings that work best.
- Clean the lens
Okay, this is obvious, but sometimes we forget, and we tend to notice it when we zoom in on photos. Since the phone is always being handled, the lens gets dirty easily and needs to be cleaned just as often.
The best thing to do is to use a special cloth, but usually we don’t have one with us. In this case, a soft cotton T-shirt will do, but be careful not to scratch the lens.
- Use natural light as much as possible
Photography is possible thanks to light, so this is the most important aspect and the one that will have the greatest influence on the result obtained. Moreover, as we mentioned at the beginning, one of the weak points of cameras in general, and mobile cameras in particular, is that they do not perform well in low light conditions.
With that in mind, it’s best to work in natural light whenever possible, even if you’re not outdoors. The image above was taken inside a room in the morning and the light coming in through the window was abundant but diffuse, creating very soft shadows and achieving a very…
With this in mind, it is best to work with natural light whenever possible, even if you are not outside. The image above was taken inside a room in the morning and the light coming from the window was abundant but diffuse, creating very soft shadows and achieving a very harmonious result.
It won’t always be possible to get natural light, but if you are indoors, try to look for the same keys: abundant and preferably diffused light as shown in the image above.
- Pay Attention to contrasts
Hard, high-contrast lighting, such as in the middle of the day, can be an interesting way to create striking contrasts if the camera is able to maintain a relatively even balance between light and shadow.
However, this can be a problem when using a simple phone whose camera is not capable of representing a very wide dynamic range. This is especially noticeable when the contrasts between light and shadow are high, which often makes the highlights look burnt out and the shadows lose detail.
As we said, HDR mode can be a great ally in saving the photo, but it doesn’t always work miracles and there are cases where the result is excessively artificial. Here, the best thing to do is as we said: try, try and try.
- And pay attention to the backlighting
Backlighting can also be an interesting resource in certain situations like the one seen above. The background looks burned out but the light is softly degraded and the “silhouette” effect is very attractive. However, you have to be careful with this type of scene where the light is coming from the front as the result can be very different.
Here is a clear example of a backlight that would have been better avoided, because even with HDR mode, we could not improve it. As I said, backlighting can be a great resource, but you have to be very careful.
- Avoid using the flash
The LED flash built into most cell phones produces a harsh light that creates harsh shadows and is rarely useful. So avoid using it whenever possible, and if you do, avoid using it because you have no choice. The image was taken during the day in an interior room where there was not much light.
When shooting at night or in low light, use a tripod (or look for a stand). We’ve already said that lack of light is one of the weak points of our mobile cameras, and while night modes help a lot, if you’re going to shoot at night or in difficult conditions (such as twilight), it’s always best to have a sturdy stand.
If you don’t have a tripod, try standing on something to stabilize the camera so that hand shake doesn’t ruin the picture. If you have no way to stabilize the camera, you must rely on your pulse (tip: holding your breath often helps).
- The grid is your friend
Composition is another essential aspect of a good photo, and with the grid it is easier to adjust the scene, for example when taking a landscape photo. A tilted horizon can ruin a great photo, so it’s important to have a guide. Most mobiles have a grid option, so browse the menus and activate it to make your compositions more stable.
- Symmetry as a resource
If the scene we are going to photograph is appropriate, symmetries always give very good results. But we must make sure that it is totally balanced, otherwise we spoil the effect.
- Play with the reflections
One resource related to symmetry is reflection. If we photograph scenes with large bodies of water, we can also play with the reflection that is generated and create a very interesting illusion of repetition like the one in these images.
- Take advantage of the perspective
Frontal shots are fine, but in many cases they are boring. Playing with perspective is a very interesting resource to explore when shooting with a cell phone, as it creates visual paths within the composition itself and gives a sense of depth.