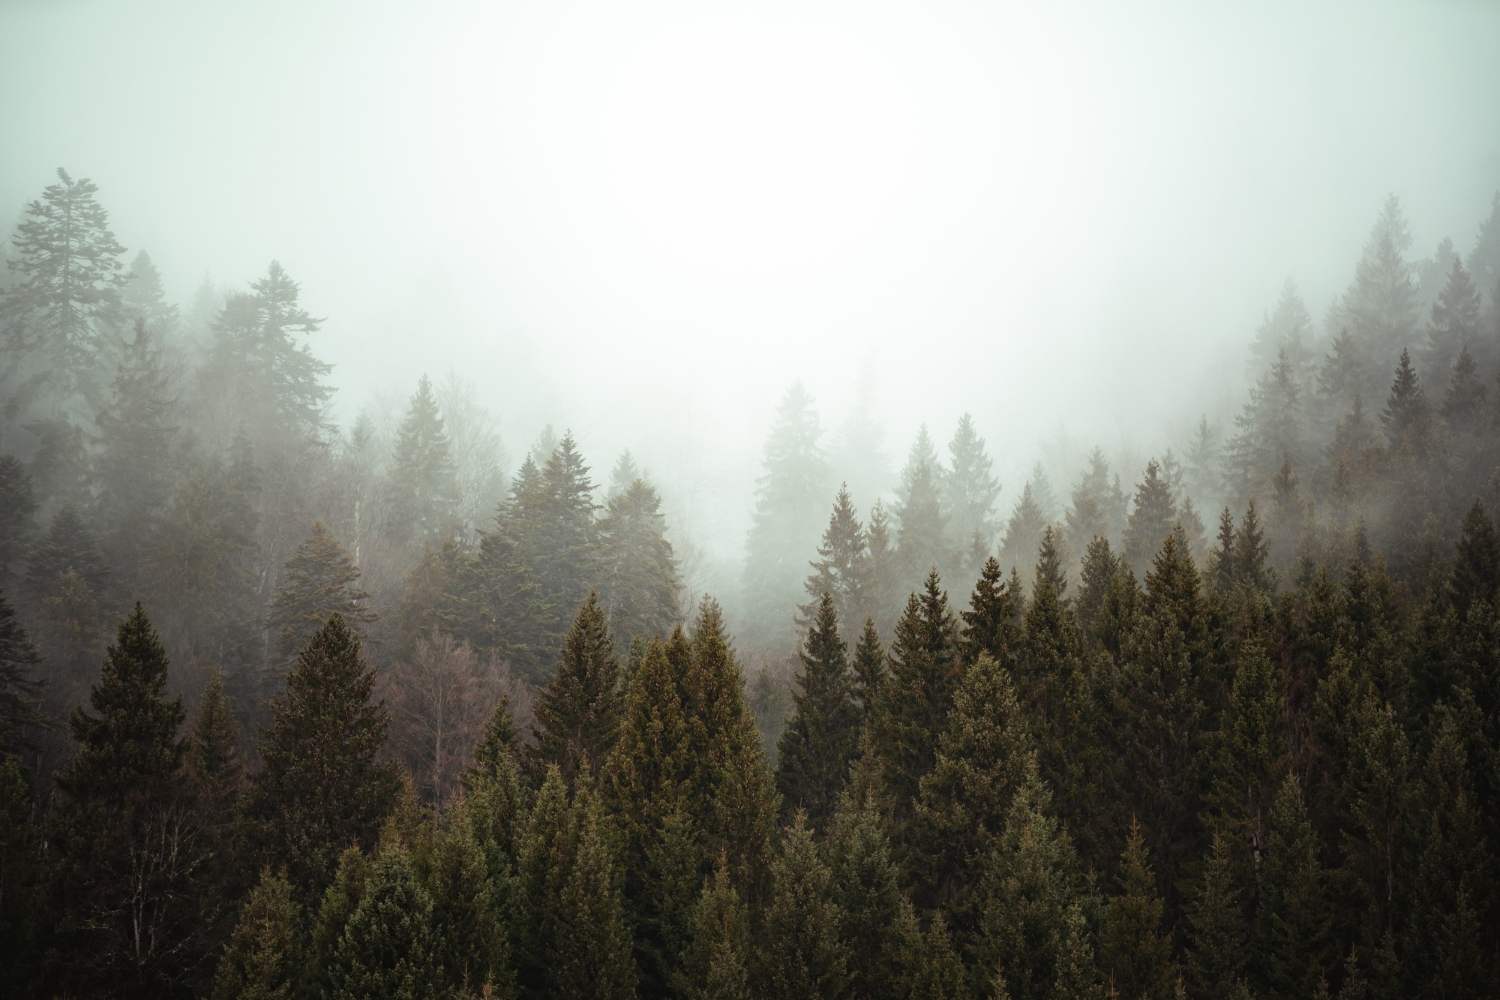
Fog and/or haze is one of those phenomena that can be considered a bad time to practice photography, but if you know how to use it well, it can be a very valuable resource. However, whether it’s the typical fog that sometimes forms in the morning or a heavy fog typical of certain regions, you have to know how to capture it to get good results.
- How to succeed in taking pictures of fog?
That’s exactly what we want to do with this article of tips and tricks for capturing elements that have a lot of enigma and that can help us add drama, mystery or a melancholic mood to any landscape, whether urban, rural or even marine.
- How to choose your moment?
When it comes to taking pictures in fog and/or mist, the first thing to keep in mind is that you need to find those conditions in order to take pictures. And, of course, fog or mist is certainly not something you can easily predict.
But before we go any further, let’s clearly define what one is and what the other is. Fog is produced by the presence of dense clouds at ground level, while haze is a “low, faint fog” (according to the RAE), and is usually produced by temperature differences that cause water droplets to remain in the air.
In any case, and although it is difficult to predict their presence, we all know that both phenomena are more likely to form at night and, especially, in the early morning. So, as on many other occasions, the best prescription for the photographer is… to get up early!
So it’s time to set your alarm clock early, although of course, to determine if fog or mist is likely to be present on any given day, it’s more than recommended to keep an eye on the weather forecast, whether it’s via one of the many existing mobile apps or by any other means.
In any case, it should be noted that the mechanisms of fog formation are highly dependent on the geographical region and environmental conditions. Thus, there are certain places where it can occur more frequently, such as mountain valleys, lakes and the sea, especially during periods of changing weather such as autumn and spring. In these circumstances, moreover, we must remember the importance of taking care of both our equipment and ourselves in these types of wet environments or where there may be intense cold.
- Comment faire la mise au point et l’exposition ?
From a technical point of view, there are two essential points to consider when taking pictures in fog or mist.
The first is how to focus in these situations where the contrast is often very low; the second is how to expose in these conditions which are often very unfavorable because they fool the exposure meter of the camera. It is therefore very easy to go home with disappointing results, with blurred and/or underexposed photos.
As for focusing, cameras generally work by looking for elements where there are differences in contrast in order to focus; the problem is that in fog and/or haze, there is little or no contrast. The problem is precisely that in fog and/or haze there is little or no contrast. If we also consider that light levels are often low, we have the ideal conditions for our camera to go wild.
Of course, this will depend on the type of camera used, and whether it uses contrast or phase difference focusing (in the latter case, the result will be better), but this is still one of those cases where the best thing to do is to switch to manual focus.
Even in this case, it will not be an easy task, as you will have to find something sharp enough to focus on. However, we can always focus by taking into account the distance to the main subject and play with the depth of field to ensure the necessary sharpness.
The other technical problem we need to solve in these situations is exposure, as this is a scenario in which the camera’s metering systems are easily fooled, just like when you take pictures in the snow or on a white sandy beach. So, if we leave this task to the camera, it is easy to get underexposed photos.
The reason for this has been explained in articles like this one, but here’s a summary: Exposure meters are calibrated to measure the reflected light that comes to them as 18% medium gray. When they are in situations where the reflected light is much higher (like the one we are talking about) or lower, they tend to misinterpret it. In the case of fog and haze, by reflecting a lot of light, the camera interprets that there is more illumination than there actually is and compensates by underexposing.
The solution, of course, is to force the camera to increase the exposure, either by using manual mode or by using exposure compensation if you are using the automatic or semi-automatic shooting modes.
The degree of overexposure will depend very much on the specific conditions of the shot, but as a guideline we can recommend going up one stop of light and checking the result. However, this is also a good time to use the histogram and try to correct the exposure.
- Creative aspects
After mastering the technical part, it’s time to focus on the creative part and take advantage of the fact that fog and/or haze can help us make incredibly evocative images. However, if the composition is not perfect, it is not difficult to get uninteresting pictures. That’s why there are a few things to keep in mind.
The result is that in these weather conditions, in addition to reducing the contrast (as we have already seen), the perspective is also flattened. It is therefore possible that a scene that we perceive at first glance as very attractive is transformed into a very different image. This is why it is important to add depth to the image with any resources.
Many of them are the same as these others to direct the viewer’s gaze: use lines that direct us to the inside of the image (like the vanishing point), look for elements to frame the main element, or simply use the rules of composition, like the famous rule of thirds, to get an interesting composition that offers three-dimensionality.
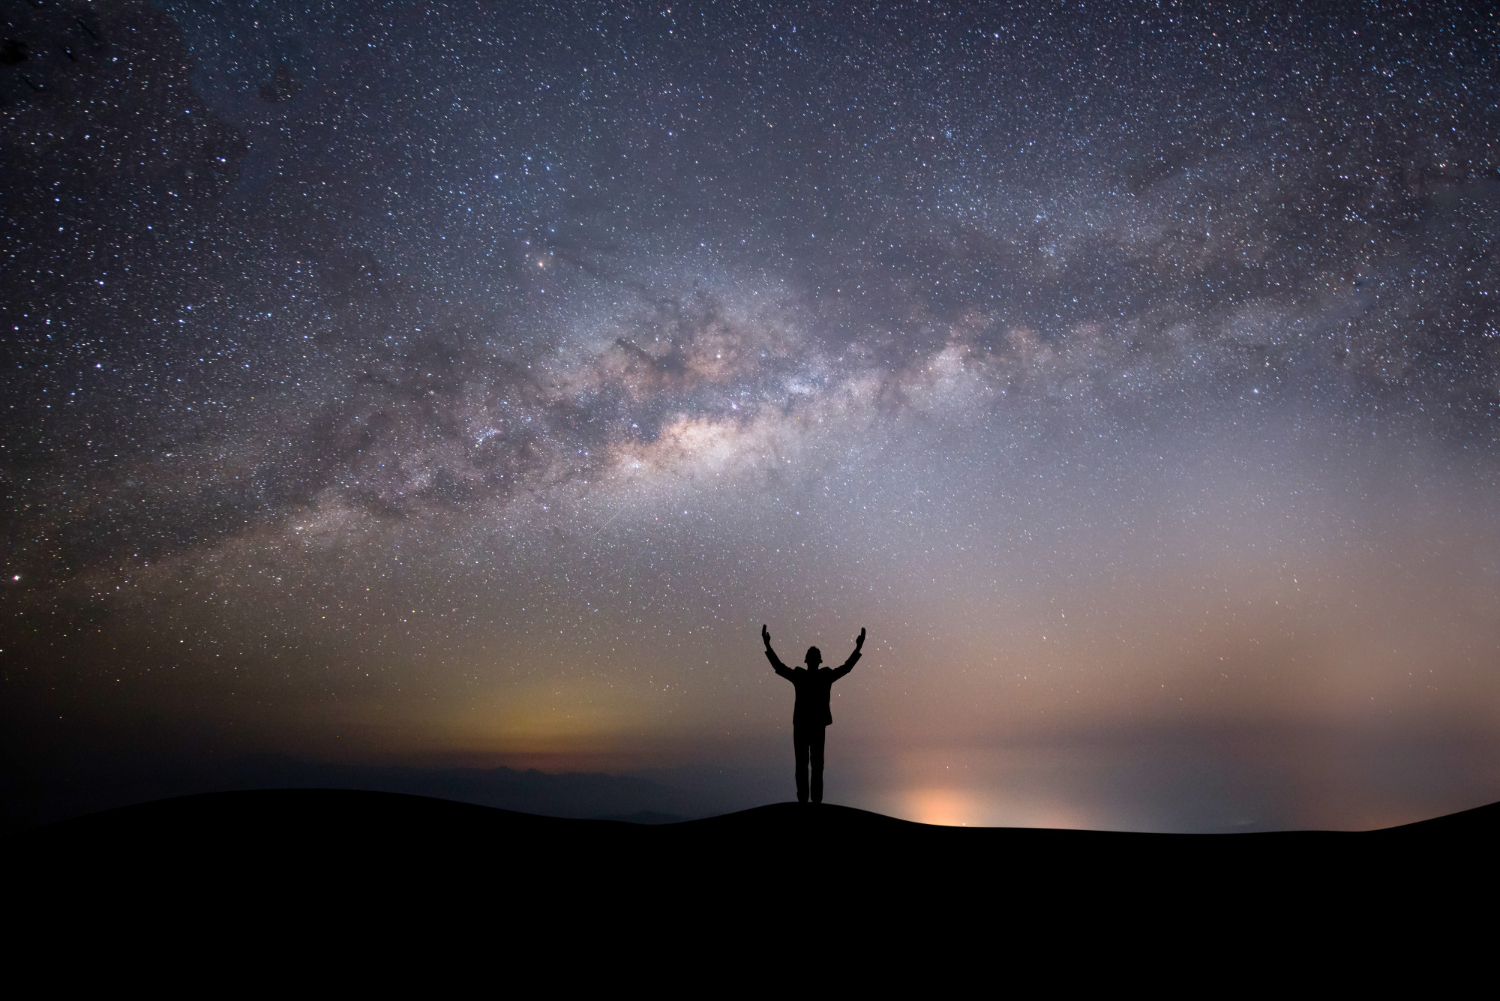
Of course, there are many possibilities, including the introduction of a human figure to add interest to the photo. In this sense, it is also interesting not to forget the silhouettes, which in these conditions can be very attractive and add a lot of mystery to the photographs.
Another technique that works very well in these environments is the juxtaposition of elements, especially when the fog is light and blends into the terrain. Add to this the golden light of dawn and the result can be very appealing and give a great sense of depth. And, as on many occasions, at sunrise (and sunset, if it’s foggy), the sun’s rays can cast beautiful shadows through the fog and/or haze, creating great texture for our photos.
Now you know that, far from being a problem, fog and haze are excellent elements for taking pictures because they can help us get unique images, with mysterious and ethereal atmospheres.